How to Do an AI Photoshoot for Your E-commerce Store (2026 Guide)
A step-by-step guide to doing an AI photoshoot for your store: the source photos you need, the six steps from product photo to published listing, what it costs versus a studio shoot, and where a real camera still wins.
How do you do an AI photoshoot for your e-commerce store?
To do an AI photoshoot, you photograph your product once with a phone, upload that photo to an AI photo studio, choose the model and scene, and generate a full listing set — white-background main image, lifestyle shots, and on-model photos — in minutes. Then you review the results for accuracy and export them straight to your store. This guide walks through all six steps.
The reason sellers switch is simple math. A traditional product shoot bills $25–$75 per white-background image and $100–$500+ per styled lifestyle shot, and a full studio session runs $2,000–$5,000 before you see the first edit. An ecommerce AI photoshoot produces the same set for roughly $0.10–$3 per image, the same day your stock arrives, in 2026.
What is an AI photoshoot?
An AI photoshoot is a product photo session done with software instead of a camera crew: you provide one real photo of your product, and an AI photo studio renders it into professional images — clean pack shots, lifestyle scenes, and on-model photos — that keep the actual product accurate. It replaces the studio, the set, and the post-production with a single upload-and-generate workflow.
The output is the same set a photographer would deliver for an Amazon or Shopify listing: a compliant white-background main image, in-context secondaries, and (for apparel) AI fashion photography on a model. The difference is that you can rerun the whole shoot — new scene, new model, new season — without rebooking anything. For the full picture of the category, see our complete guide to AI product photography.
Can AI really replace a product photoshoot?
For most catalog and listing work, yes — and for a few specific cases, honestly, no. AI photoshoots match studio output on apparel, accessories, footwear, and most hard goods, at a fraction of the cost and in minutes instead of weeks. Where a real camera still wins: highly reflective jewelry, complex tactile textures like heavy lace or fur, and exact-fit tailoring where a buyer needs to see the true garment on a true body.
The practical answer most brands land on is a split: AI handles the volume — listings, seasonal refreshes, ad variations, marketplace formats — and the photography budget gets saved for the handful of hero products where tactile authenticity is the selling point. That's not a compromise; it's what makes a 500-SKU catalog affordable to photograph at all, when the traditional version of that catalog costs $125,000–$250,000 a year to keep shot.
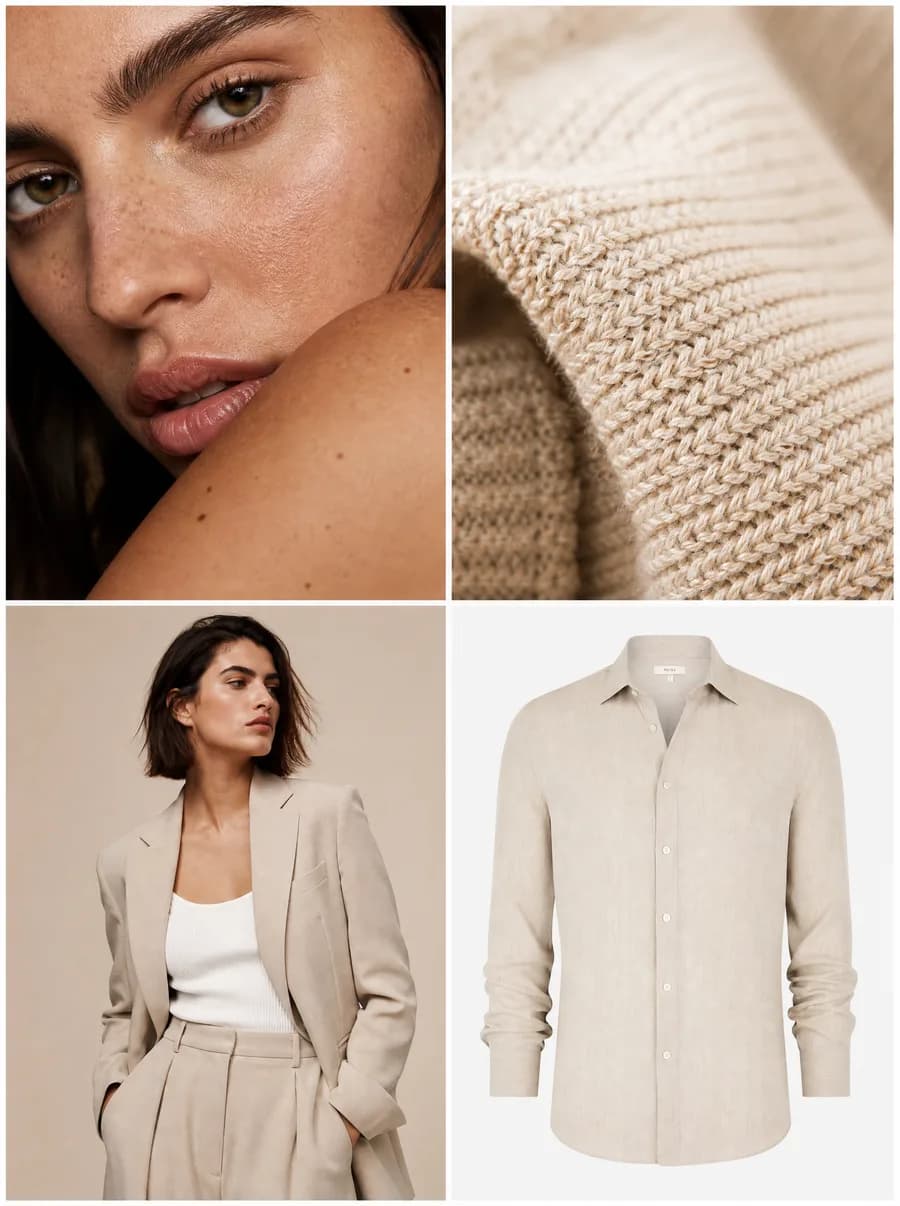
What photos do you need to start an AI photoshoot?
You need one clear photo per product — a phone photo is enough. Shoot the product on a plain white or light-grey background, in soft even light, with the whole item in frame and uncropped. Aim for 1024 px or higher on the longest side so prints, stitching, and labels stay sharp when the AI renders the scene around them.
A two-minute checklist before you upload:
- One product, fully visible. No hands, clips, or props covering details the buyer needs to trust.
- Neutral background. White or light grey; colored surfaces bleed into the product's edges.
- Soft, even light. Window light works; avoid harsh shadows and mixed color temperatures.
- Detail close-ups. Add a second shot of anything that must render exactly — a logo, a print, hardware, embroidery.
- For garments: a flat lay, hanger, or ghost-mannequin shot gives the cleanest shape information.
How do you do an AI photoshoot step by step?
Here's the full workflow, from a phone photo to a published listing. The whole pass takes minutes, and any result you don't like can be regenerated without redoing the rest.
- Photograph your product. One clean shot per product on a neutral background, even light, 1024 px+. This reference anchors the real color, fabric, and shape — it's the single biggest quality lever of the entire AI photoshoot. Add close-ups for prints, logos, or hardware.
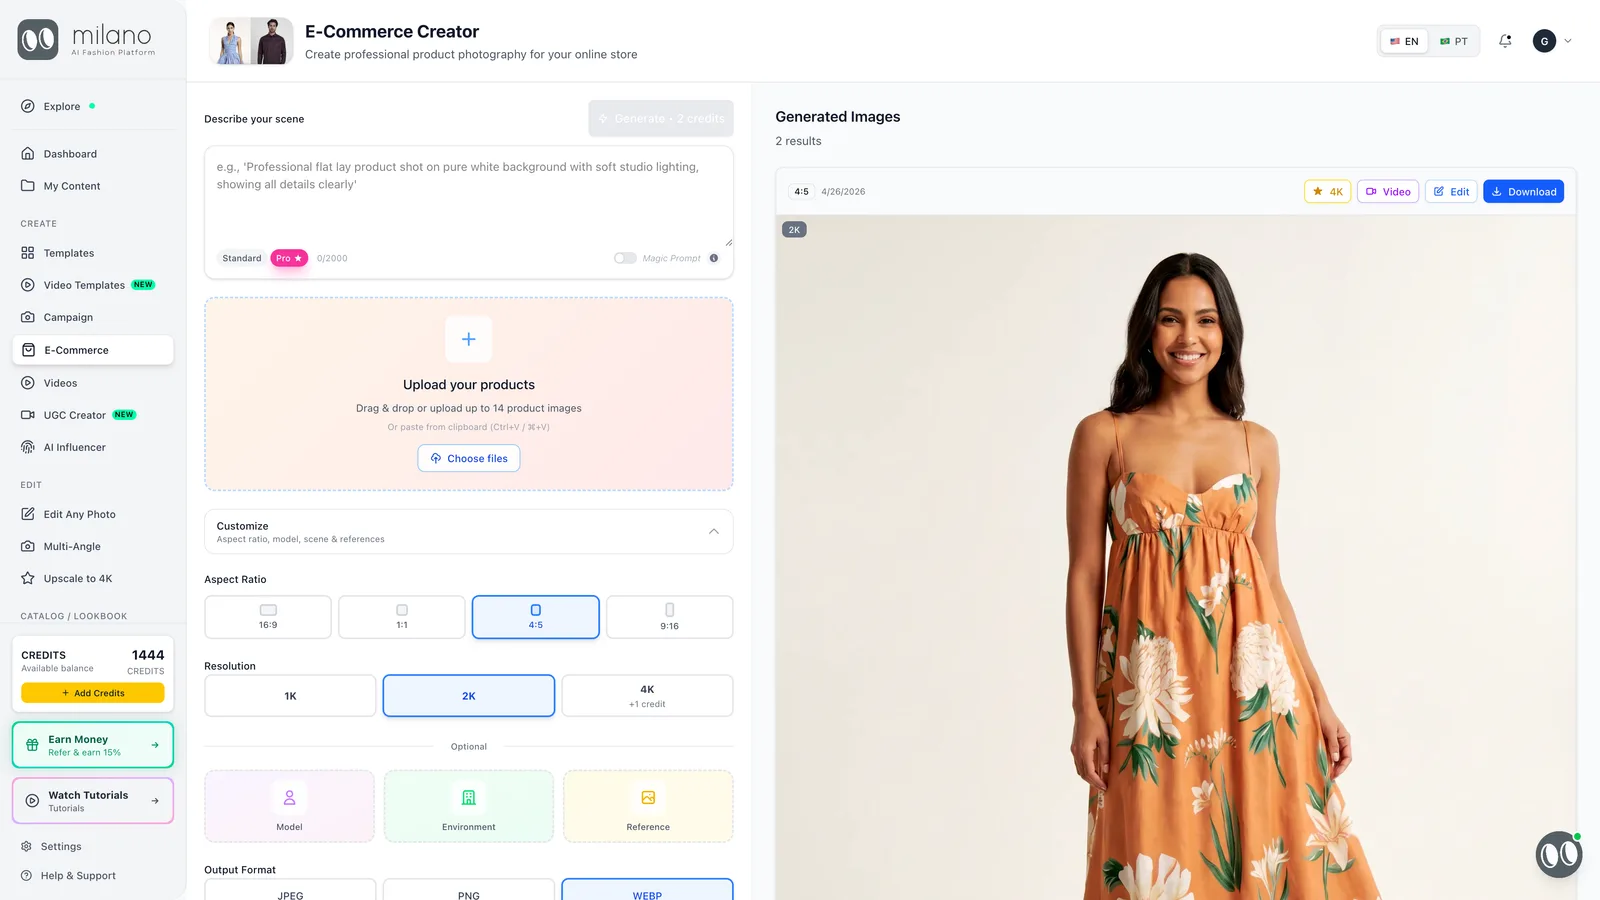
- Upload it to the AI photo studio. Open the e-commerce studio, upload the product photo, and add your detail references. The platform reads the product — its edges, material, and color — and locks it as the subject of every image it generates.
- Choose the model and the scene. For apparel, pick a model that matches your actual customer — body type, age range, skin tone — or describe one. Then set the scene: pure white for the marketplace main image, a lifestyle setting for ads and social, a clean studio for the brand look. Pick the ratio per channel: 1:1 for Amazon listings, 4:5 for social, 16:9 for banners.
- Generate the set. Run the generation and produce the full listing in one pass: the white-background main image, two or three lifestyle variants, and on-model shots from more than one angle. Each image lands in about a minute, and the product stays consistent across the whole set.
- Review and edit. Judge the product before the scene: color, print alignment, seams, proportions. Keep the winners, regenerate the misses, and use the editor to fix small things — swap a background, brighten the light, re-crop for a channel — without rerunning the whole shoot.
- Export to your store. Download in the format each channel needs and publish. For Amazon, the main image needs a pure white background (RGB 255,255,255), 1600 px+ on the longest side, and the product filling 85%+ of the frame with no text or props — your AI set should ship compliant by default. Lifestyle and on-model shots go in the secondary slots, and the same files feed Shopify, ads, and email.
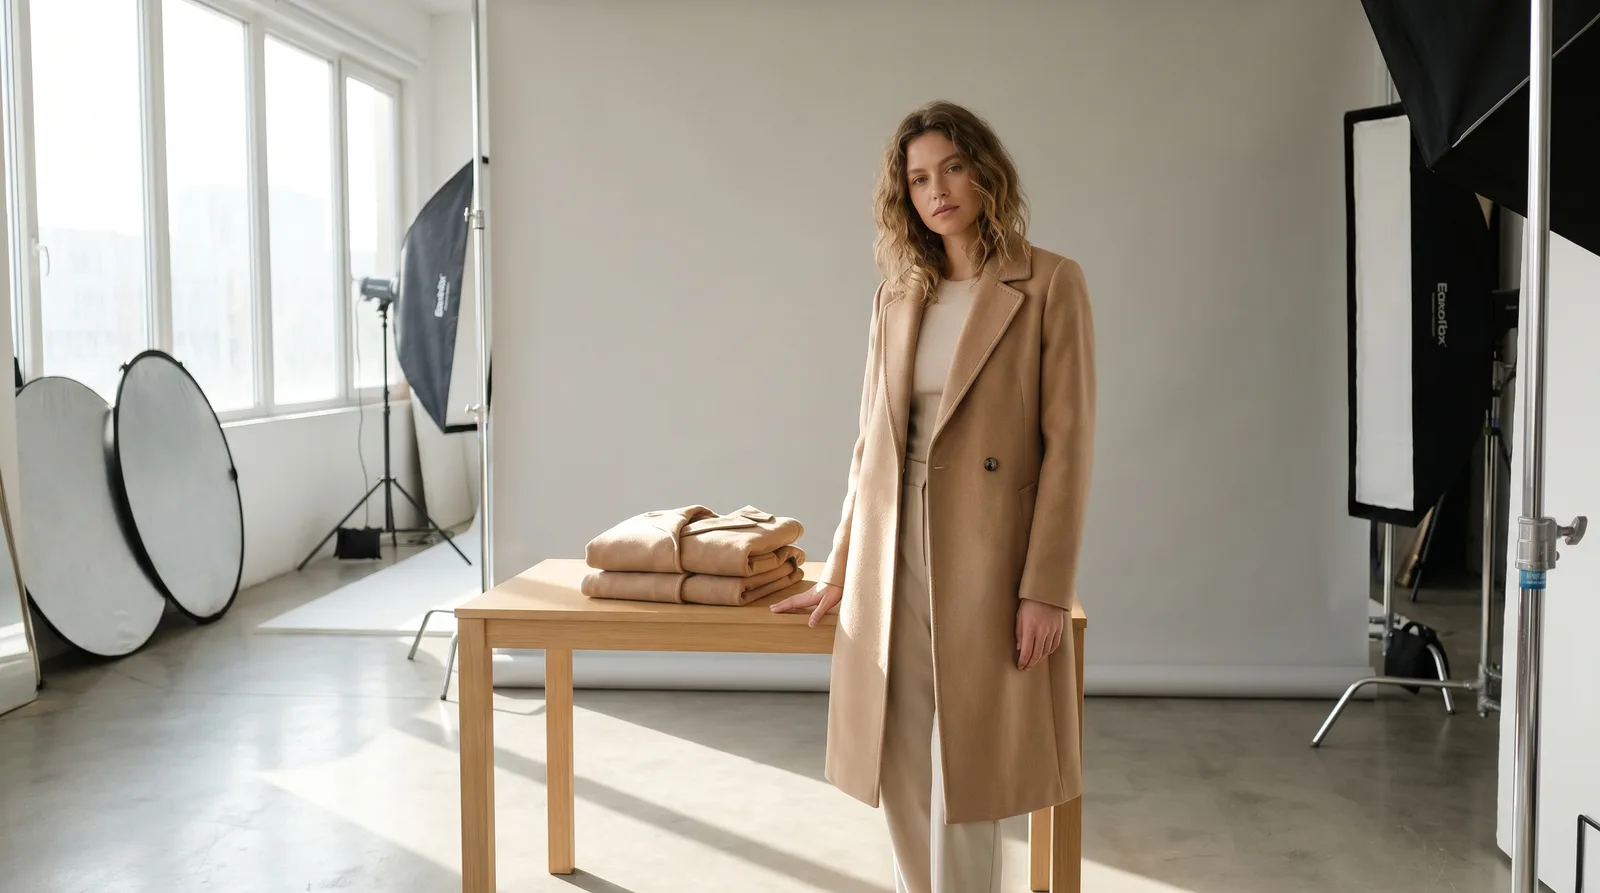
How much does an AI photoshoot cost compared to a studio shoot?
An AI photoshoot costs roughly $0.10–$3 per image on a subscription, with no upfront production cost. A studio shoot bills $2,000–$5,000 per session upfront (photographer day rate of $1,000–$3,500 plus $500–$2,000 studio rental), works out to $25–$500+ per finished image, and takes 1–3 weeks to deliver. Reshoots are where the gap widens most: a missed shot means a new studio day versus a free regeneration.
| Studio photoshoot | AI photoshoot | |
|---|---|---|
| Upfront cost | $2,000–$5,000 per session | None — a monthly plan |
| Cost per image | $25–$75 white-bg · $100–$500+ lifestyle | $0.10–$3 |
| Turnaround | 1–3 weeks | Minutes (~60s per image) |
| Reshoot cost | A new shoot day ($1,000–$3,500+) | Regenerate free, instantly |
| Scalability | 30–60 finished images per studio day | Hundreds of SKUs, every format, same day |
Bottom line: a studio session yields 30–60 finished images for $2,000–$5,000 — an effective $35–$165 per image. An AI photoshoot produces the same listing set for under $3 per image with zero upfront cost, which is why catalog work has moved to AI and camera budgets now go to hero campaigns. See our pricing for what a month of unlimited shoots costs.
What are the limitations of AI photoshoots?
The honest list is short but real. AI photoshoots are weakest where the product's value lives in micro-detail or exact physical fit — and knowing these limits up front is what keeps your hit-rate high:
- Reflective jewelry and glass. Stones, polished metal, and transparent materials can render with invented reflections. Fine jewelry still deserves a macro lens.
- Complex tactile textures. Heavy lace, fur, sequins, and open-weave knits can lose the texture that justifies the price. Test before you commit a collection.
- Exact-fit claims. An AI model shows how a garment looks; it can't prove how a specific size fits a specific body. Fit-critical tailoring still benefits from a real fitting shot.
- Very small text on packaging. Ingredient lists and fine print can blur — keep a straight-on camera shot for those frames.
Everything else — color, drape, silhouette, scene, lighting — modern ecommerce photo rendering handles well, provided your source photo is clean. The fix for almost every weak result is a sharper, better-lit reference.
Which products work best for an AI photoshoot?
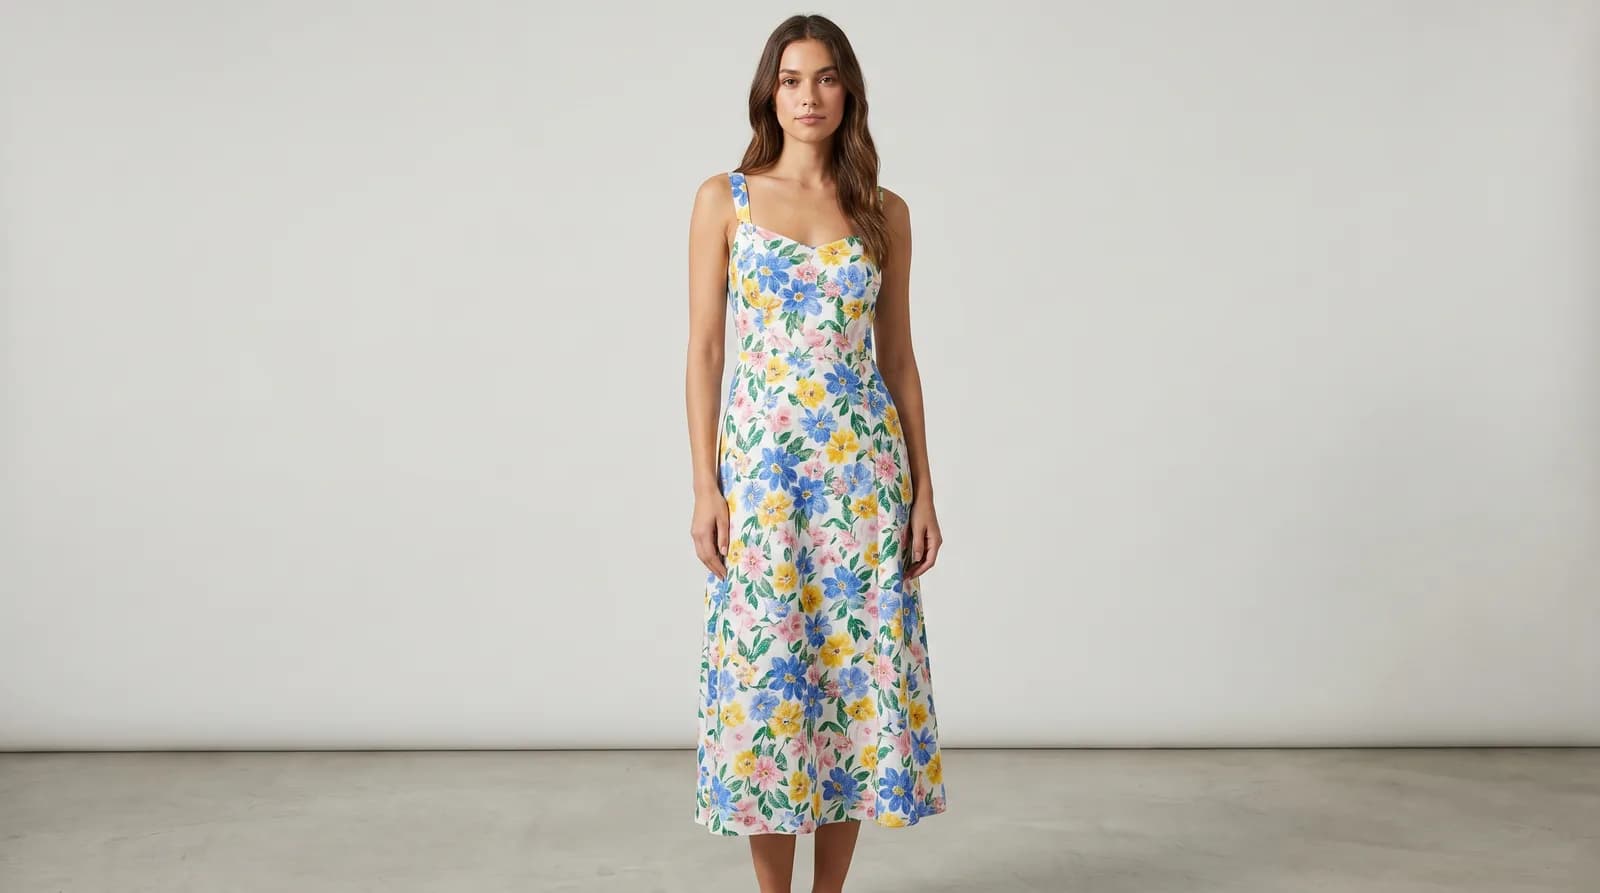
Apparel, accessories, and footwear get the most value, because they're the categories where on-model and in-context shots drive the sale — and where traditional shoots are most expensive. Matte, structured products render most reliably; the more reflective or translucent the material, the more carefully you should review.
- Apparel — the strongest case. One flat lay becomes a white-bg listing, lifestyle shots, and on-model AI fashion photography in every size of model you sell to.
- Bags & accessories — structured leather goods, belts, hats, and scarves render with excellent texture; matte hardware is fine, mirror-polish needs review.
- Footwear — sneakers and boots photograph beautifully on white and in street scenes; check stitching and sole detail on the first pass.
- Home & lifestyle goods — ceramics, textiles, and furniture work well in generated room scenes.
- Review carefully: fine jewelry, glassware, and anything where fine print sells the product.
For a tool-by-tool breakdown of this category, see the best AI tools for e-commerce product photos in 2026.
Tips for a better AI photoshoot
- Shoot your reference photos in batch — ten products against the same white wall in one session feeds ten full shoots.
- Reuse one model and one scene across a collection so the catalog reads as one brand, not ten experiments.
- Generate the marketplace main image and the lifestyle secondaries in the same pass — one upload covers the full listing.
- Always review the product before the background; a pretty scene with a drifted color is a return waiting to happen.
- Keep your winning prompt/scene setup and rerun it each season — that's the reshoot that costs nothing.
Frequently Asked Questions
Photograph your product on a neutral background, upload it to an AI photo studio, choose a model and scene, generate the set, review the product for accuracy, and export to your store. The full pass takes minutes, and each image costs roughly $0.10–$3.