How to Make a Virtual Try-On With AI (2026 Guide)
A step-by-step guide to making a virtual try-on with AI: the source photo you need, the five steps from garment to on-model image, the prompt formula, and how to check the result before you publish.
How do I make a virtual try-on with AI?
To make a virtual try-on with AI, you start from one clean garment photo — a flat lay, hanger, or ghost-mannequin shot — choose a model, set the pose and scene, and generate. The tool reads the garment's color, fabric, and shape and renders it on the model in seconds. Below we walk through all five steps, the source photo you need, and how to check the result before you publish.
This guide is for anyone who sells clothing and wants on-model images without booking a shoot. A traditional on-model shoot runs $500–$5,000 per session once you add a photographer, model, studio, and editing — and it takes one to three weeks. A virtual try-on turns the same garment into on-model images in minutes, for a fraction of that, in 2026.
What is a virtual try-on (provador virtual)?
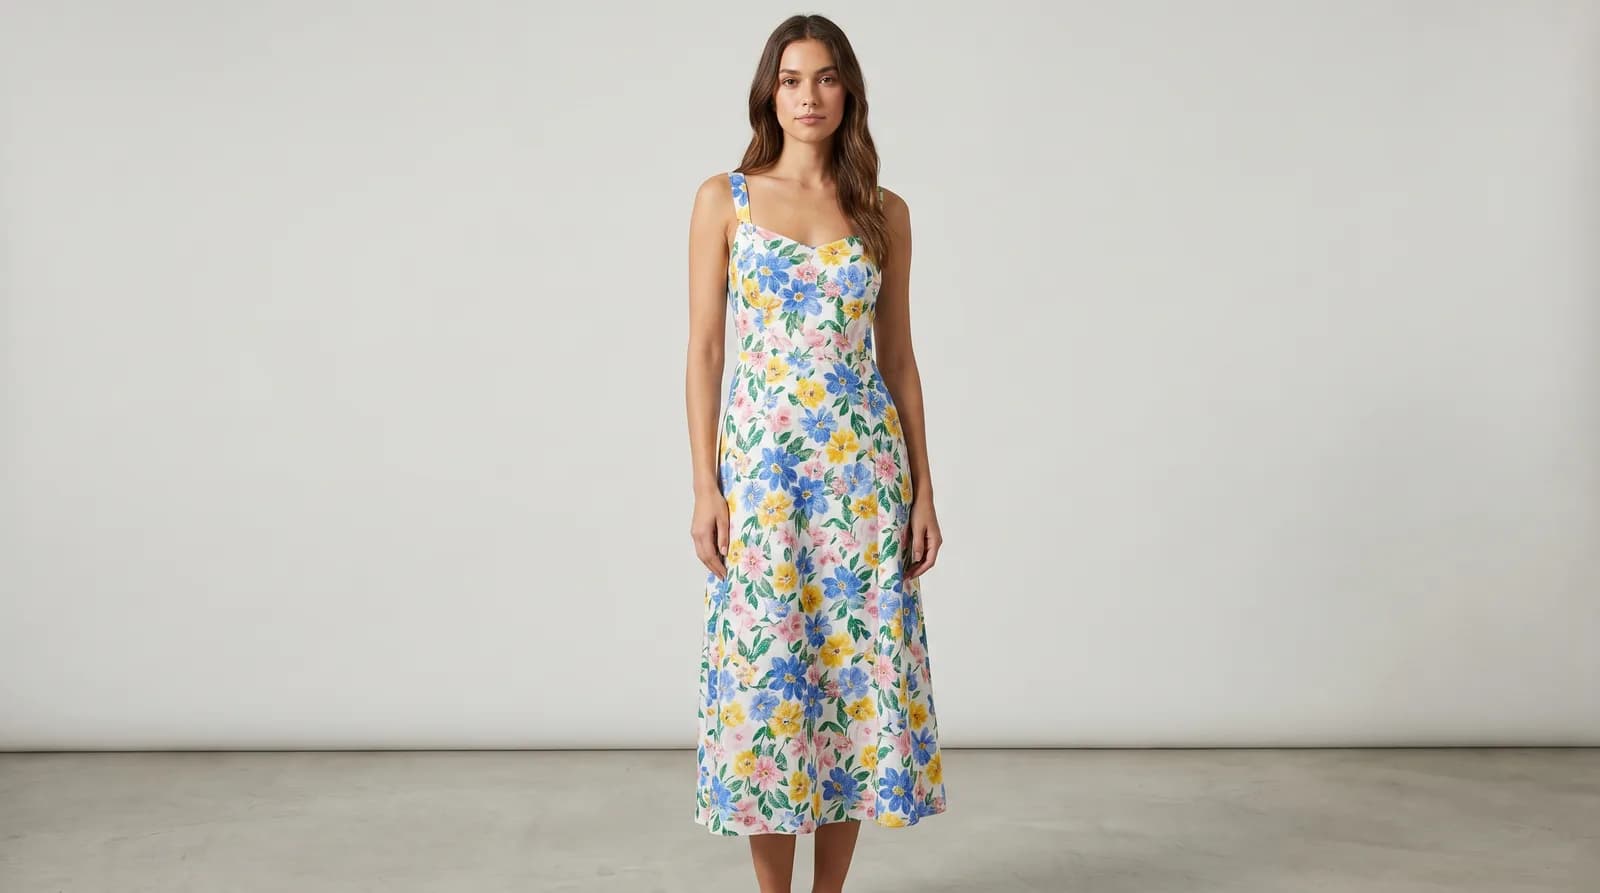
A virtual try-on is an AI-generated image that shows a real garment worn on a model's body, created from a product photo instead of a live photoshoot. You upload the garment, the AI separates it from the background, maps it onto the model's pose, and renders the folds, drape, and shadow that fabric would naturally have.
There are two kinds, and it's worth knowing which you mean:
- Brand-facing try-on (content generation). You turn a flat lay into polished on-model photos for your listings, ads, and social. This is what most stores need, and it's what this guide covers.
- Shopper-facing try-on (fitting room). A widget that lets a customer upload a selfie and see the garment on their body. It needs a storefront that allows custom scripts (Shopify, WooCommerce, VTEX), so it lives on your own site — not inside a marketplace listing.
Can AI put my clothes on a model?
Yes. Modern AI can take a flat-lay, hanger, or ghost-mannequin photo of your garment and render it on a chosen model, preserving the real color, print, and seams. The output is a photoreal on-model image you can publish — no model day-rate, no studio booking, and no reshoot fee when you want a different look.
This matters because of how shoppers behave. Model-wearing images convert up to 2.5× better than flat-lay-only listings, on-model clothing photos lift conversion 40–60%, and 67% of online shoppers say they want a try-on experience. On-model imagery also reduces fit guesswork, cutting returns by up to 25%. Here's the time-and-cost picture:
| Traditional on-model shoot | AI virtual try-on | |
|---|---|---|
| Time to first image | 1–3 weeks | Minutes |
| Cost per session | $500–$5,000 | A fraction of one shoot |
| New angle or pose | New shoot day | Regenerate instantly |
| Model diversity | One booking at a time | Many models, any day |
| Best for | Hero brand moments | Volume, listings, testing, launches |
What photo do I need before you start?
Start with one clean, sharp garment photo: a flat lay, hanger shot, or ghost-mannequin image on a plain white or light-grey background, evenly lit with no harsh shadows. Resolution should be at least 512×512 px, ideally 1024 px or higher so seams and prints stay crisp. Show the whole garment, uncropped — a modern phone and window light are enough.
A few quick rules that make the difference between a believable try-on and an obviously-fake one:
- One garment, full and uncropped. Don't let hands, hangers, or props cover key details.
- Neutral background. White or light grey; avoid colored surfaces that bleed into the fabric.
- Even light. Soft, front-ish lighting — harsh shadows confuse the rendering.
- Detail references. Add close-ups of anything the eye should trust: a print, a logo, hardware, embroidery.
How to create a virtual try-on with AI, step by step
Here's the full workflow from a garment photo to a publish-ready on-model set. Each step takes seconds, and you can regenerate any result you don't like.
- Start from a clean garment photo. Upload your flat lay, hanger, or ghost-mannequin shot — 1024 px or higher, plain background, even light. This source image anchors the color, fabric, and shape, so a clear reference is the single biggest quality lever. Add detail references for prints, logos, or hardware.
- Pick a model that fits your audience. Choose a model by body type, age range, skin tone, and hair, or describe exactly who you want. Match the model to who actually buys from you — that's what makes the try-on feel like your brand, not stock art.
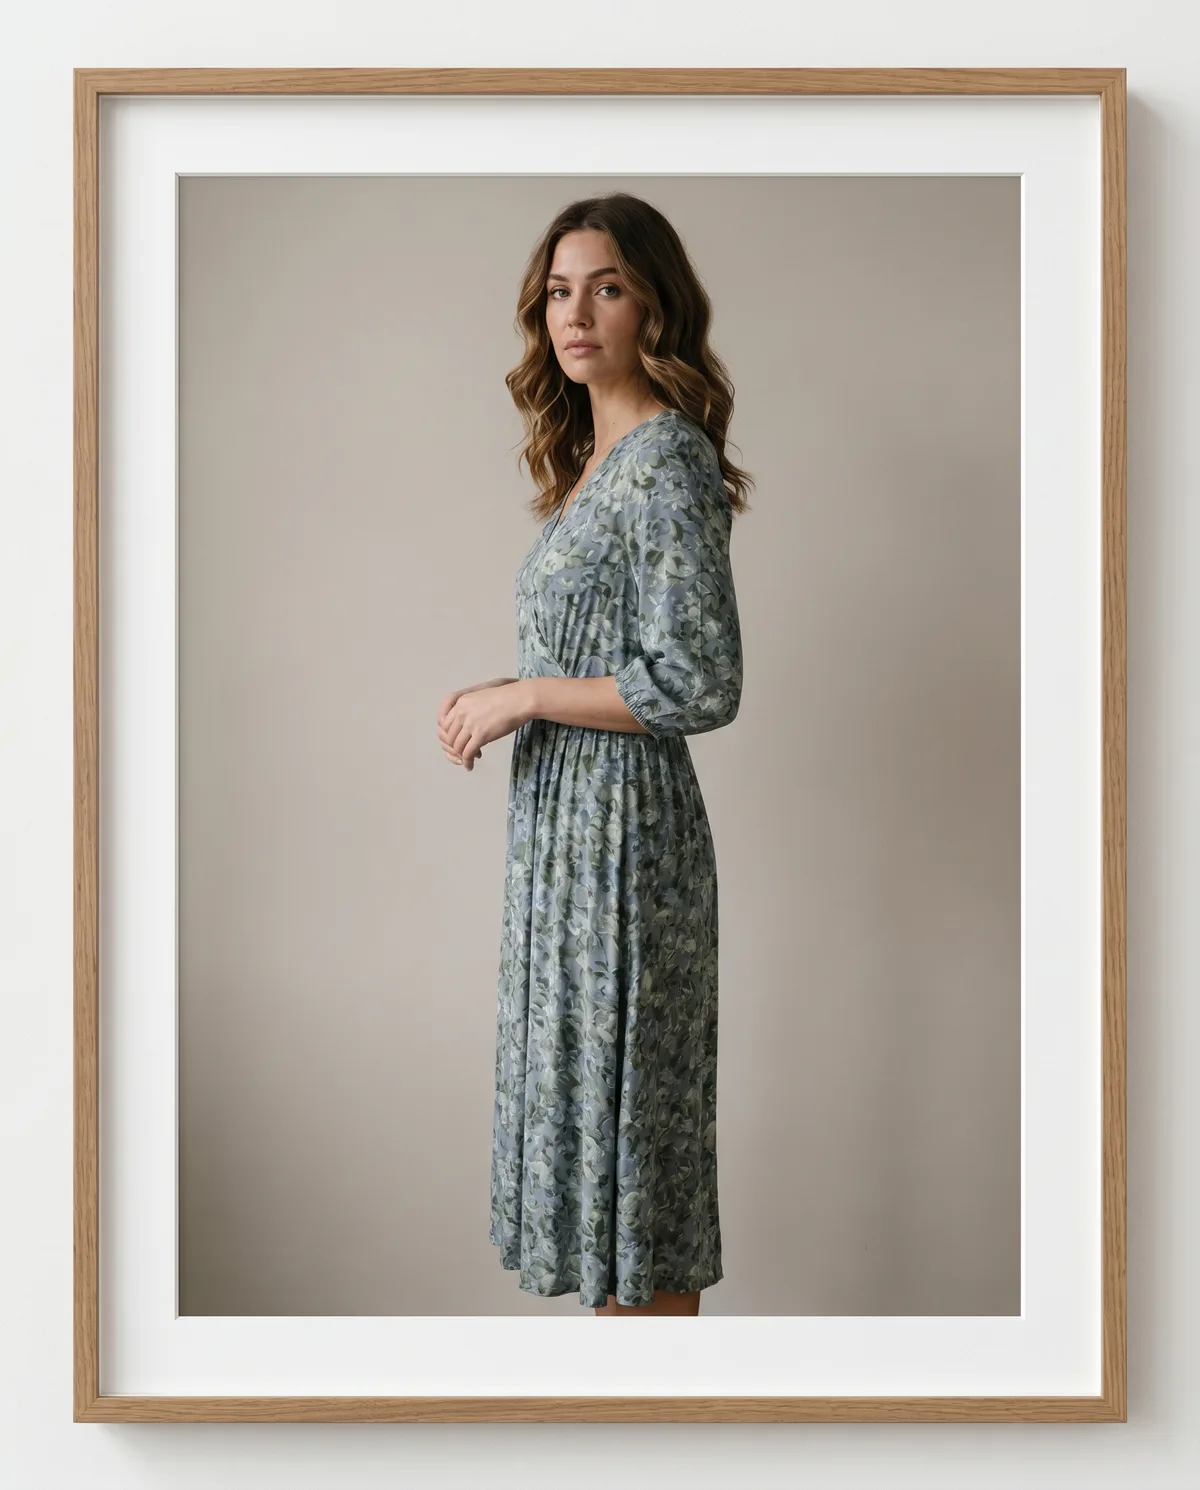
- Set the scene and pose. Decide studio or lifestyle: a clean light-grey backdrop for marketplace listings, a real-world setting for ads and social. Keep the pose front-facing with arms at the sides for the cleanest try-on; that's also what marketplace try-on tools expect.
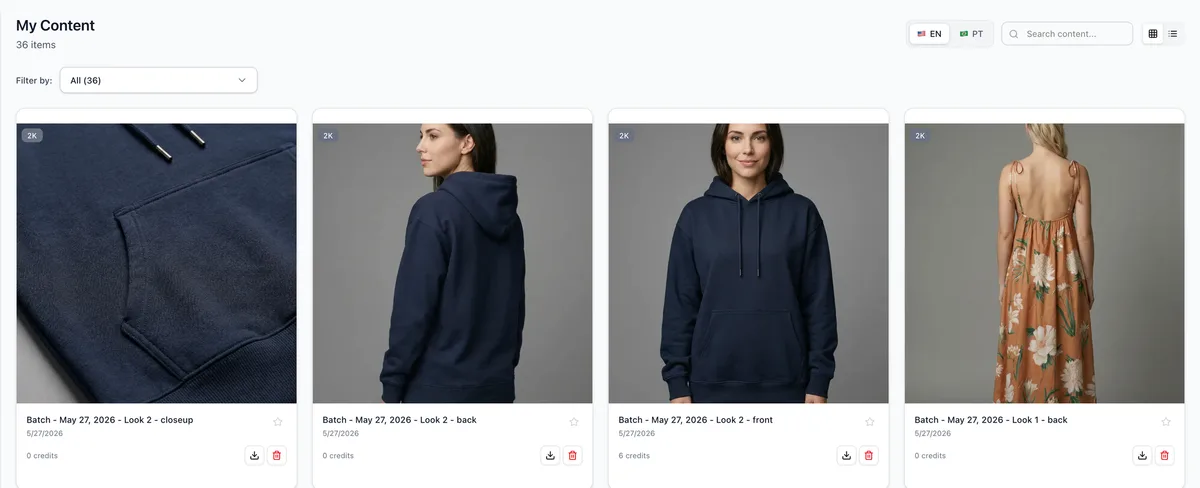
- Generate the look — and a consistent set of angles. Run the generation, then create the same garment on the same model from multiple angles (front, back, three-quarter, close-up). A consistent set gives a product page everything it needs from one upload.
- Review for fit and accuracy. Check the garment first — color, print alignment, seams, drape — before you judge the model or scene. Keep the winners, regenerate the rest. Then export in the size your channel needs.
The virtual try-on prompt formula
The fastest way to get a believable result is to brief it like a stylist. Use this formula — copy it and fill the blanks:
[Garment] + [Model] + [Pose] + [Setting] + [Lighting]- [Garment] — the exact item and its details: "beige ribbed-knit sweater, crew neck, mid-weight."
- [Model] — who wears it: "woman, late 20s, warm skin tone, shoulder-length dark hair."
- [Pose] — body position: "front-facing, standing, arms relaxed at the sides."
- [Setting] — where it lives: "clean light-grey studio" (listings) or "sunlit city street" (ads).
- [Lighting] — the mood of light: "soft even daylight, gentle shadow."
Worked example: Beige ribbed-knit crew-neck sweater + woman, late 20s, warm skin tone + front-facing, arms at sides + clean light-grey studio + soft even daylight. Keep one variable changing at a time when you iterate, so you always know what improved the result.
How to review a virtual try-on for fit and accuracy
Judge the garment before anything else — if the real product drifts, no model or background can save the image. Work down this checklist in order, because product accuracy is what your customer is actually buying. A try-on that looks gorgeous but shows the wrong sleeve length will cost you a return.
- Color & print. Does the shade match the real garment? Are stripes, logos, and prints aligned and unwarped?
- Seams & structure. Collar, cuffs, hems, and seams sit where they should — no melted edges or extra buttons.
- Drape & fabric. The fold and weight read like the real material (a silk falls differently than denim).
- Fit on the body. Sleeve and hem length look true; the garment doesn't cling or balloon unnaturally.
- Hands, fingers, and face. Quick scan for the classic AI artifacts before you publish.
- Consistency across the set. Same model, same face, same lighting across every angle.
Common virtual try-on mistakes to avoid
Most weak try-ons trace back to the source photo or skipping the review. Avoid these and your hit-rate jumps:
- A messy source photo. Wrinkled garment, colored background, or harsh shadows — the AI inherits every flaw.
- Cropping the garment. Half a dress can't be rendered accurately; show the whole item.
- A busy or dynamic pose. Slouched or arms-crossed poses distort the garment; start front-facing.
- Judging the scene before the product. Pretty background, wrong color — always check the garment first.
- One angle only. A product page converts better with a front/back/close-up set, not a single hero.
- Skipping detail references. If a logo or print matters, upload a close-up so it renders true.
Frequently Asked Questions
One clean garment photo — a flat lay, hanger, or ghost-mannequin shot on a plain white or light-grey background, evenly lit, at least 512×512 px and ideally 1024 px or higher. Show the whole garment uncropped; a phone and window light are enough.